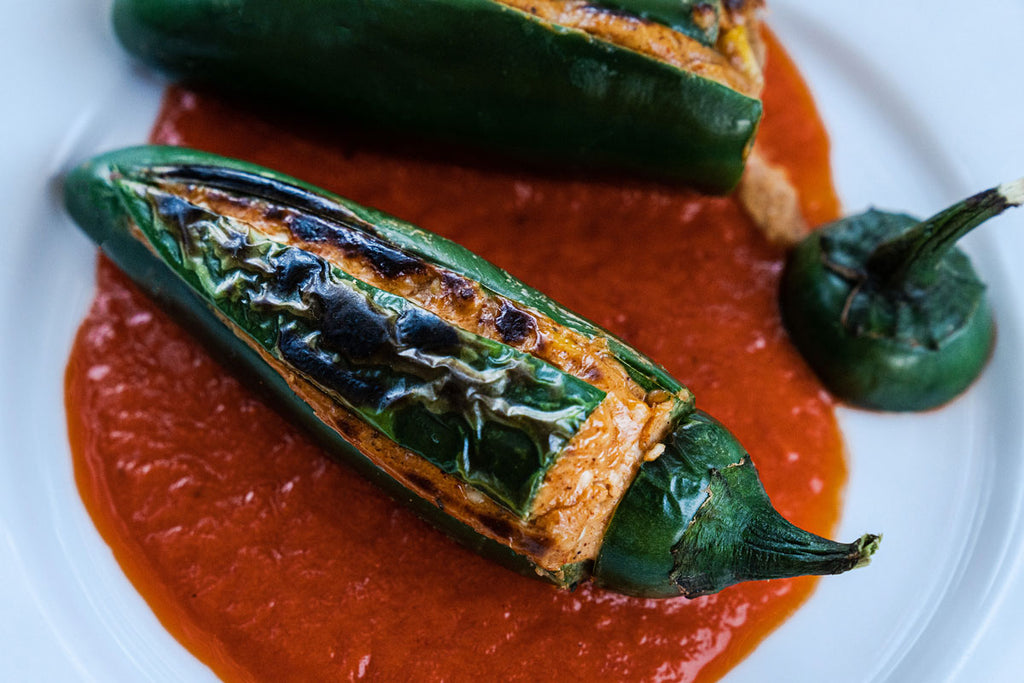
Scorpion Tails with Piquillo Pepper Sauce

This appetizer is a play on jalapeño poppers, arguably the most beloved bar (or behind the wheel) snack in Texas. I developed the recipe–a lighter, fresher take on the fried version, when I worked as a chef in The Texas Hill Country. They’re delicious served with a bright puree of piquillo peppers. But, if you’re hankering for the classic preparation, fry the stuffed jalapeños, and serve them with our Rodeo Ranch Dip.
Scorpion Tails with Piquillo Pepper Sauce
Rated 5.0 stars by 1 users
Servings
8
Prep Time
35 minutes
Cook Time
6-8 minutes
The jalapeños are easier to fill if you chill the cream cheese mixture for at least 30 minutes before assembling. You can assemble the peppers and chill them up to 4 hours in advance–which means all you have to do is turn on the broiler and squeeze limes at cocktail time. Spanish piquillo peppers have a distinct sweet and smoky flavor that’s more concentrated that regular roasted peppers.
Ingredients
-
16 large jalapeno peppers
-
One 8-ounce block cream cheese, softened to room temperature
-
½ cup grated Cotija cheese
-
1 cup charred corn kernels (see note)
-
1 egg
-
1 garlic clove, minced
-
1 tablespoon Street Corn seasoning
-
2 tablespoons fresh chopped oregano or marjoram
-
Dash hot sauce
-
One 8- to 10-ounce jar piquillo peppers, drained
-
1 tablespoons extra virgin olive oil
-
1 teaspoon Sherry wine vinegar
Piquillo Pepper Sauce
Directions
Slice the stems off the jalapeños and reserve. Using a paring knife, slice a vertical V-shaped opening in the side of each pepper. Use your fingers to gently open the chile and use a knife to remove the peppers ribs and seeds. Repeat the process with the remaining peppers.
In the bowl of an electric mixer fitting with the paddle attachment, beat the cream cheese to soften. Add the cotija, corn, egg, garlic, Street Corn seasoning, oregano, and hot sauce and beat at low speed until blended. Cover the filling and refrigerate for 30 minutes or up to several hours.
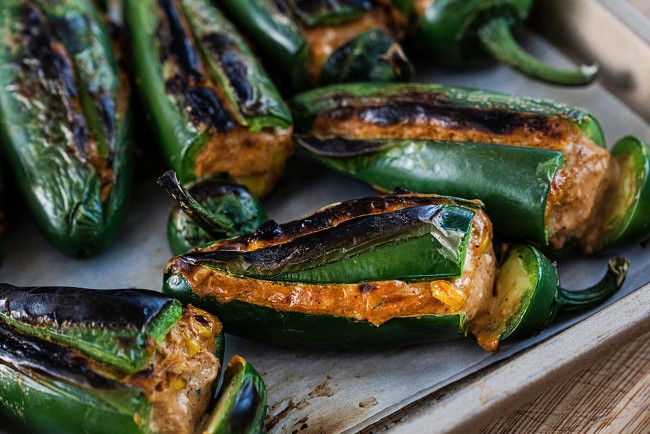
When you’re ready to fill the peppers, use a small butter knife to fill each pepper with about 2 tablespoons of cheese filling. Top the filling with its V-shaped piece, and top with the stem (frosted with a little filling so it will adhere) and place on a parchment-lined baking sheet. Cover with plastic wrap and refrigerate for at least 30 minutes, or up to several hours before you’re ready to cook.
Meanwhile, combine the drained piquillo peppers, olive oil, and Sherry wine vinegar in a small blender and puree. Transfer to a small saucepan and heat gently before serving.
When you’re ready to serve, turn on the broiler and place an over rack at its highest level. Place the sheet of peppers under the broiler and cook until blistered but not overly blackened. (Turn the sheet pan as needed for even cooking.) If the bottoms of the peppers are still green, reduce the heat to 200F, place the peppers on a lower rack and finish warming through. To serve, spread a few tablespoons of the warmed piquillo sauce onto a plate and top with 2 peppers.
Recipe Note
You can char the corn on the grill, over a medium fire, or on your stovetop. For the latter, sear the kernels in a small skillet over high heat, until the corn begins to “pop” and smell nutty.
Leave A Comment
More Recipes
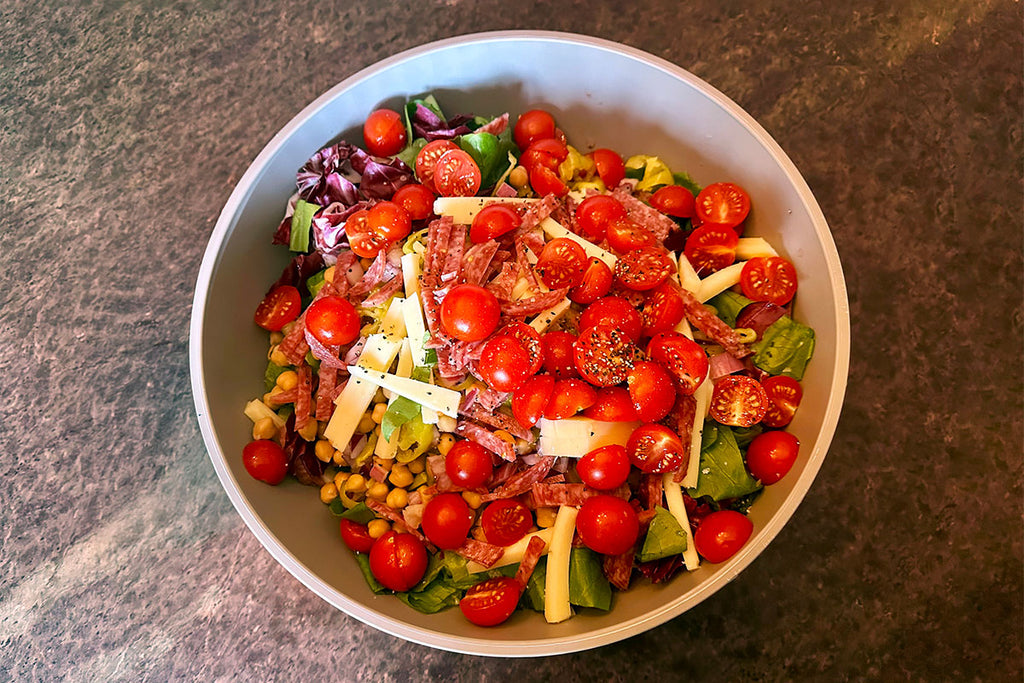
Chopped Italian Salad with Vinny R’s Italian Dressing
For years now, Friday night has been “pizza night” at our house, which means takeout pizza and a salad. Since I discovered–and fell in love...
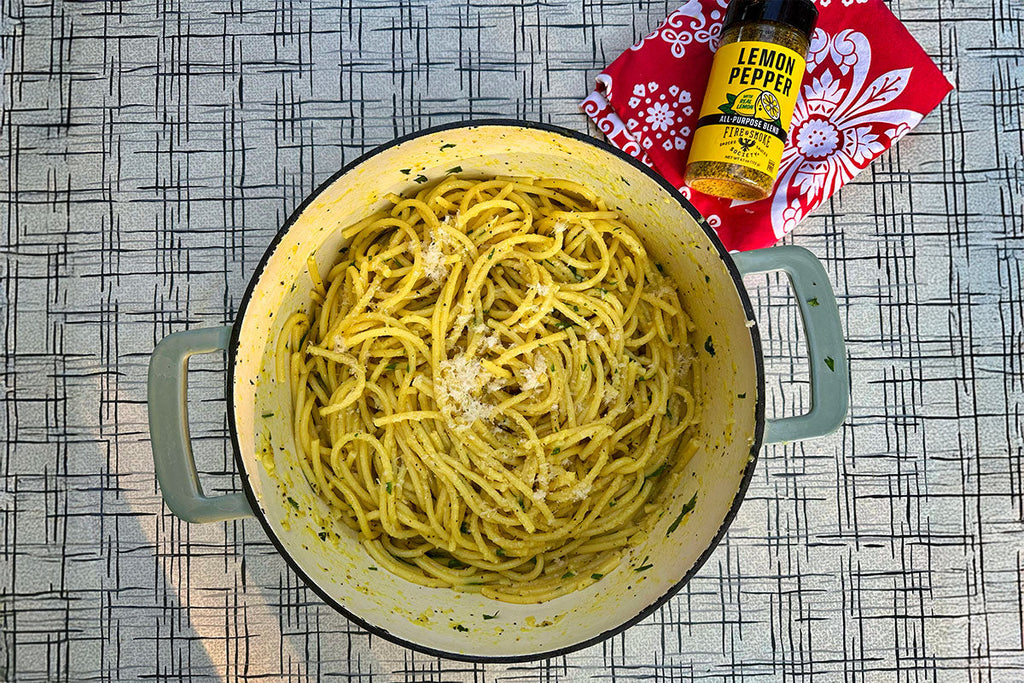
Easy Lemon Pepper Linguine
Calling all lemon lovers: Rich and buttery with a bright lemon punch, Lemon Pepper Linguine is a 30-minute, one-pot wonder that’s ready to ...
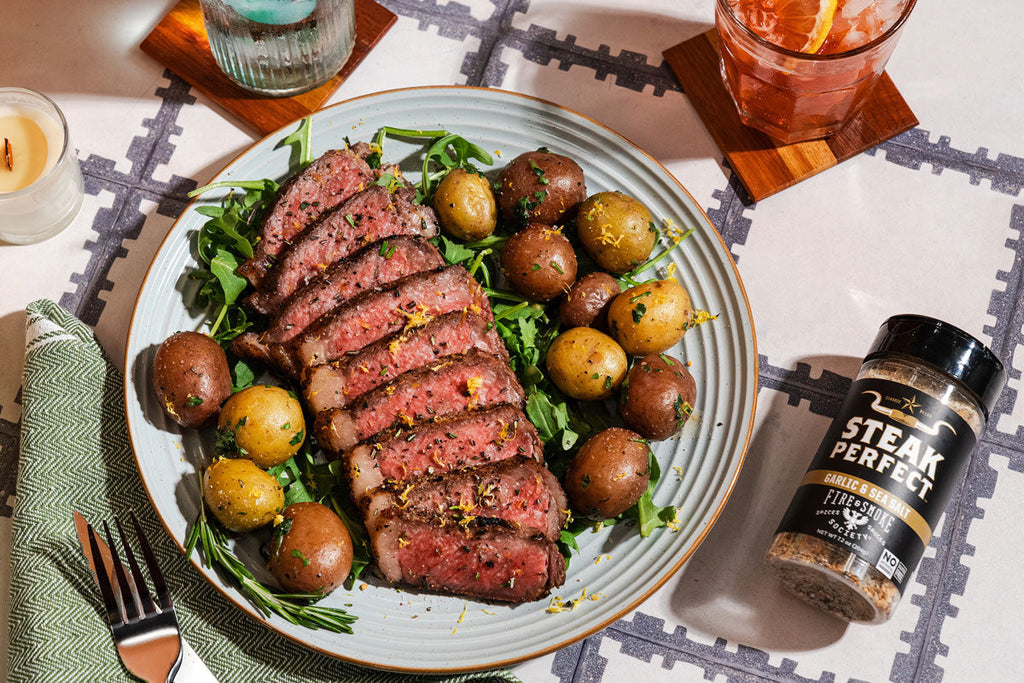
Easy Steak & Potatoes
Our Steak Perfect steak seasoning elevates any cut that sizzles on the grill–or in this recipe, a cast iron skillet. The following method i...
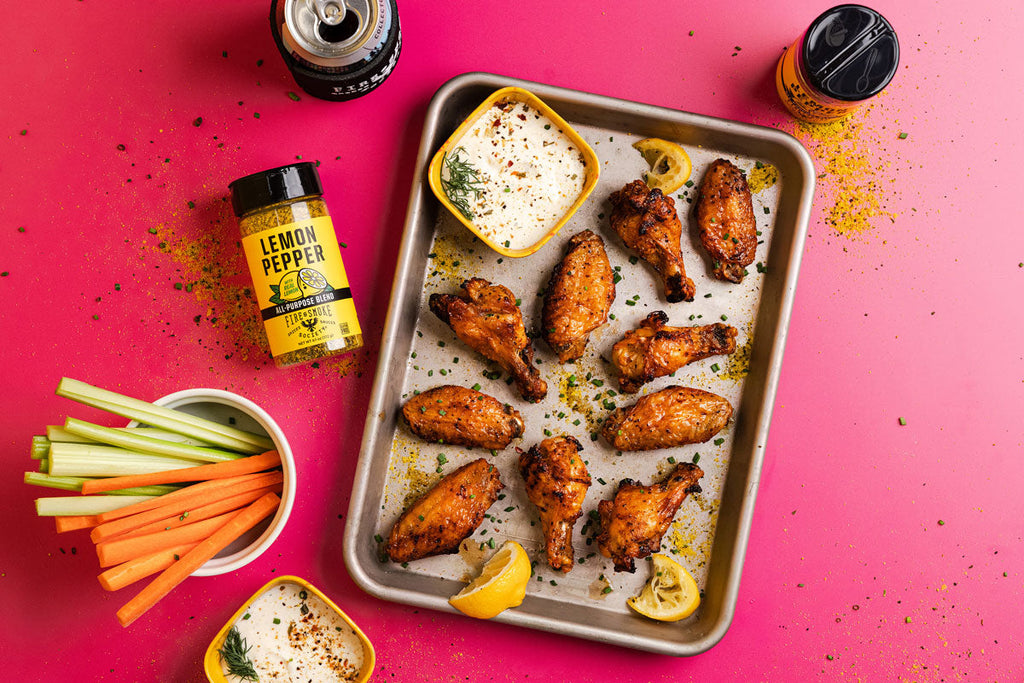
Crispy Oven Baked Lemon Pepper Wings
This dead simple cooking method and sauce will lead you to the best Lemon Pepper Wings around–and score big points on your next game night....
Easy Lemon Chicken Breasts
This impressively easy and delicious meal comes together so quickly, you’ll want to start any accompaniments (e.g. a starch or veggies) bef...


